Prototyping in FlutterFlow: A Step-by-Step Guide to Interactive App Prototypes
FlutterFlow prototyping is the fastest way to turn an app idea into a clickable, testable prototype without writing code. By following a structured framework, you can create an interactive app prototype in hours—not weeks—and validate your concept before committing to full development. This guide walks you through a five-step framework that combines FlutterFlow design principles with practical UX testing.
Why This Framework Works
Most prototyping advice focuses on tools, not process. This framework works because it forces you to make decisions in the right order: define, map, build, connect, test. It prevents the most common failure—jumping into visual design before understanding the user flow. It also leverages FlutterFlow's strengths: speed, visual editing, and built-in interactive components. By the end, you have a prototype that stakeholders can click through and users can test, providing real feedback early.
Step 1: Define the Core User Journey
Before opening FlutterFlow, write down the one primary task your app must accomplish. For example, a food delivery app might have the journey: browse restaurants → select items → checkout. This journey becomes your prototype's backbone. Keep it to three to five screens; anything more dilutes focus. At this stage, you're not designing—you're deciding what to test.
Step 2: Sketch the Wireframe on Paper or Using FlutterFlow's Blank Canvas
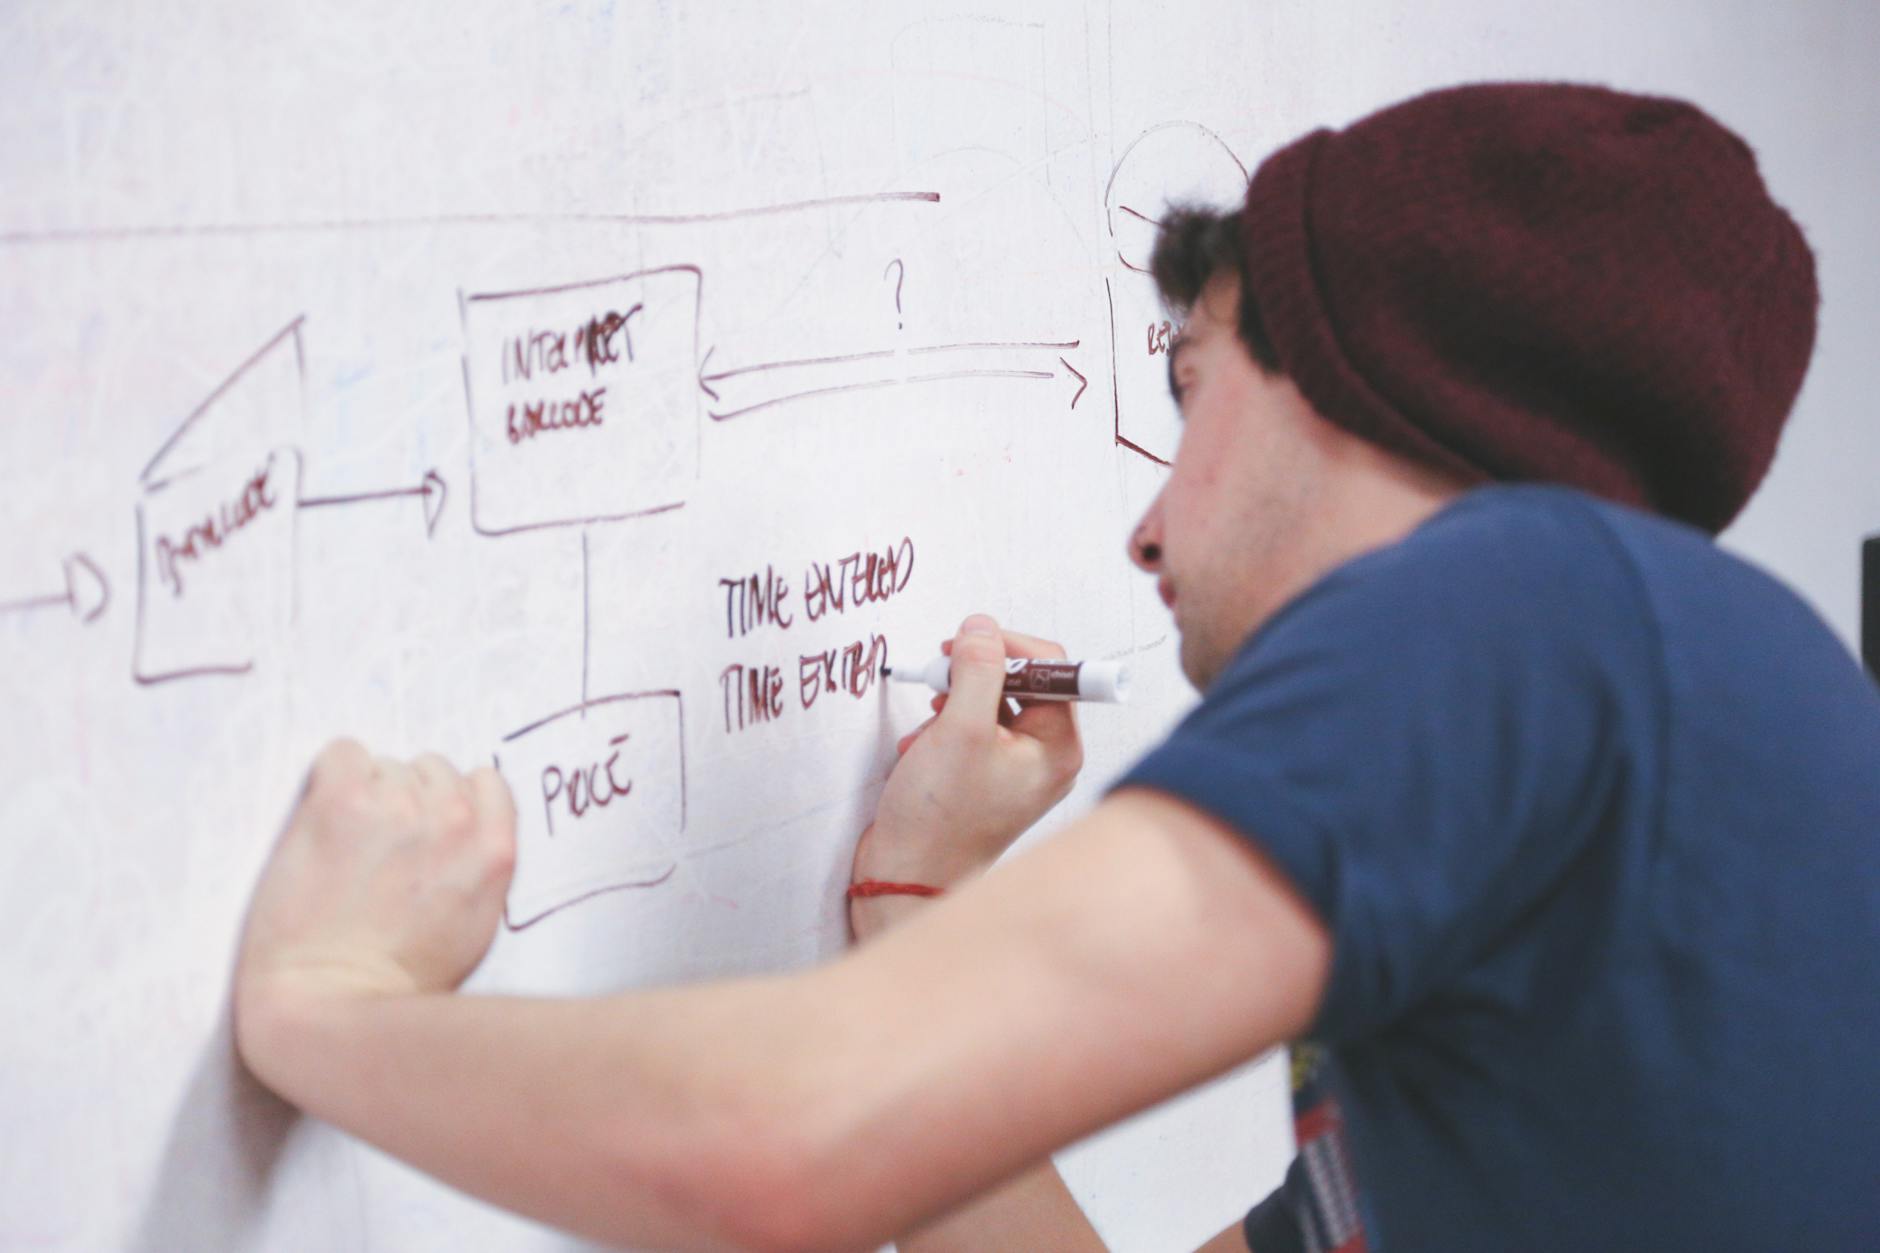
Sketching forces you to think about layout and hierarchy before getting distracted by colors and fonts. Draw each screen as a rectangle and place elements: buttons, text fields, images, navigation bars. This is your low-fidelity blueprint. Alternatively, you can start directly in FlutterFlow with a blank project and drag in basic widgets like Container, Text, and Button to create a wireframe. The goal is to lay out the structure, not final design.
Step 3: Build the Screens in FlutterFlow
Open FlutterFlow and create a new project. For each screen in your wireframe, build the UI using FlutterFlow's drag-and-drop editor. Use standard Flutter widgets—Scaffold, AppBar, Column, Row—and set placeholder text like "Restaurant Name" or "Add to Cart." Don't worry about polish; focus on functionality. FlutterFlow allows you to quickly duplicate screens and modify them, so you can iterate fast.
Step 4: Connect Screens with Actions to Create Interactivity
An interactive app prototype requires navigation. In FlutterFlow, you connect screens by adding actions to buttons. For example, set a button's onTap action to Navigate to another screen. You can also pass data between screens using AppState or Action Parameters to simulate dynamic behavior. For a more realistic feel, add simple state management—like toggling a favorite icon—using FlutterFlow's built-in state variables. This transforms static screens into a clickable flow.
Step 5: Test the Prototype with Real Users
Once your prototype is connected, share it with stakeholders or potential users. FlutterFlow lets you preview the prototype in a browser or on a device via the FlutterFlow mobile app. Ask testers to complete the core journey you defined in Step 1 and observe where they hesitate or get confused. Collect feedback and refine your prototype. This testing loop is invaluable for catching usability issues before any code is written.
How to Apply It to Your Project
To apply this framework, start with a simple project you understand well. Allocate a half-day to complete the first pass. Use the following checklist to stay on track:
- Define the primary user journey (one task).
- Sketch wireframes for each screen.
- Build screens in FlutterFlow using basic widgets.
- Connect screens with navigate actions.
- Add simple state interactions (e.g., toggles, page views).
- Test with at least three people.
- Iterate based on feedback.
This approach works for both no-code enthusiasts and professional developers. Even if you plan to hand off to a development team, a FlutterFlow prototype serves as an interactive specification.
Examples: E-Commerce and Fitness Tracking Prototypes
E-Commerce App: Suppose you're prototyping an e-commerce app. Your core journey might be: search for a product → view product details → add to cart → checkout. In FlutterFlow, you'd create four screens: search results, product detail, cart, and checkout. Connect the "Add to Cart" button to update a cartCount variable, and the "Checkout" button to navigate to the checkout screen. This prototype lets you test whether users understand the purchase flow.
Fitness Tracking App: For a fitness app, the journey could be: log a workout → view progress. You'd build screens for workout logging (with form inputs) and a progress dashboard (with charts). In FlutterFlow, you can use widgets like TextField and Chart to simulate data entry and visualization. Connect the "Save Workout" button to update a local state and navigate to the dashboard, where the new data appears. This tests the data flow and user experience.
Common Mistakes to Avoid
- Skipping the journey definition: Jumping into design without a clear task leads to scope creep and a confusing prototype.
- Over-polishing visuals: Spenting hours on colors and fonts before validating the flow wastes time. Use basic styling; test the interaction first.
- Ignoring user feedback: A prototype's purpose is to gather feedback. If you don't test it, you've missed the point.
- Building too many screens: Each additional screen increases complexity. Stick to the minimum needed to test the core hypothesis.
Templates and Tools for FlutterFlow Prototyping
FlutterFlow provides starter templates that you can duplicate and modify. Look for "E-commerce", "Fitness", or "Social Media" templates in the template gallery. These come with pre-built screens and connected actions, accelerating your prototyping. Additionally, you can use FlutterFlow's built-in component library for common elements like navigation bars, buttons, and input fields.
For a worksheet, create a table with columns: Screen Name, Purpose, Key Elements, Actions. Fill it in as you map your flow. This helps you stay organized.
Advanced Tips for Interactive Prototypes
Once you're comfortable with the basics, explore FlutterFlow's advanced features to make your prototype more realistic:
- Conditional actions: Show different screens based on user input (e.g., logged in vs. logged out).
- API calls: If you have a backend, you can connect to mock APIs to fetch real data. Learn more in our Backend Development for Mobile Apps: Server Options and Considerations guide.
- Animations: Use
AnimatedContainerorPageViewto create smooth transitions that enhance feel.
These elements make the prototype feel like a real app, leading to more accurate user feedback.
It's Not Just for No-Coders
Prototyping in FlutterFlow isn't just for non-technical founders. Even experienced developers use it to quickly visualize user flows before writing implementation code. It bridges the gap between design and development, ensuring alignment among team members. For businesses, this means faster validation and reduced development costs. If you need help scaling your prototype into a full application, our team at FlutterFlow Agency provides FlutterFlow prototyping services, ensuring your project moves from idea to production efficiently.
Conclusion
FlutterFlow prototyping is a powerful method to validate app ideas quickly. By following this five-step framework—define, sketch, build, connect, test—you can create interactive prototypes that generate invaluable feedback. Remember to keep it simple, test early, and iterate. Whether you're a startup founder or an enterprise product manager, this approach saves time and money. Ready to turn your prototype into a scalable app? Learn about scalable app architecture to ensure your foundation is solid.
Key Takeaways
- Prototyping in FlutterFlow is fast and code-free, making it accessible to everyone.
- The framework emphasizes defining a clear user journey before building.
- Connect screens with actions to create interactivity and simulate real functionality.
- Test with real users to uncover usability issues early.
- FlutterFlow templates and advanced features can accelerate and enhance your prototype.
Now, take your app idea and start prototyping today. With this guide, you have the tools to create a compelling interactive prototype that will win stakeholders' approval and set the stage for successful development.